Manual Rev.: 1.1
Revision Date: July 30, 2021
Part Number: 50M-00012-1010
Preface
Copyright
Copyright © 2021 ADLINK Technology, Inc. This document contains proprietary information protected by copyright. All rights are reserved. No part of this manual may be reproduced by any mechanical, electronic, or other means in any form without prior written permission of the manufacturer.
Disclaimer
The information in this document is subject to change without prior notice in order to improve reliability, design, and function and does not represent a commitment on the part of the manufacturer. In no event will the manufacturer be liable for direct, indirect, special, incidental, or consequential damages arising out of the use or inability to use the product or documentation, even if advised of the possibility of such damages.
Trademarks
Product names mentioned herein are used for identification purposes only and may be trademarks and/or registered trademarks of their respective companies.
Revision History
| Revision | Description | Date |
|---|---|---|
| 1.0 | Initial release | 2021-04-12 |
| 1.1 | Release for EVA SDK R3.5 | 2021-07-30 |
¶ 1 Introduction
This chapter describes the installation of the following software.
- NVIDA® CUDA, NVIDIA® cuDNN, and NIVIDA® TensorRT
- Intel® OpenVINO, Intel® Media SDK
- Pylon Software
- GStreamer
- ADLINK EVA SDK
The following table lists the recommended software versions.
| Item | Version |
|---|---|
| Operating System | Windows 10 64-bit |
| GStreamer | 1.16.2 |
| NVIDIA® CUDA1 | 11.0 |
| NVIDIA CUDA® Deep Neural Network library (cuDNN)1 | 8.0.5 |
| NVIDIA® TensorRT™1 | 7.1.3 |
| Intel® OpenVINO™2 | 2021.1.110 |
| Intel® Media SDK2 | 2020 R1 |
| OpenCV3 | 4.5.0 |
| Python | 3.7 64-bit |
| Microsoft Build Tools for Visual Studio | 2019 or 2017 |
| Visual C++ Redistributable for Visual Studio | 2015-2019 |
| pylon | 6.1.1 |
| Hikrobot MVS | 3.2.1 |
| FLIR Spinnaker SDK | 2.2.0.48 |
Notes
1 If the NVIDIA solution is used for inference, NVIDIA® CUDA®, NVIDIA® cuDNN and NVIDIA® TensorRT™ must be installed.
2 If the Intel solution is used for inference, Intel® OpenVINO™ and Intel® Media SDK must be installed.
3 OpenCV is required by the ADLINK EVA SDK. If Intel® OpenVINO is not installed on the system, build and install it. Refer to https://docs.opencv.org/4.5.0/d3/d52/tutorial_windows_install.html for more information.
The following table lists the estimated installation space required when installing the software under Windows 10 64-bit.
| Software | Required Storage | Install File Size |
|---|---|---|
| Visual C++ Redistributable 2015-2019 | 22 MB | exe file: 14 MB |
| Microsoft Build Tool | 15 GB | exe file: 1.5 MB |
| Python | 100 MB | exe file: 26 MB |
| CMake | 100 MB | msi file: 25.5 MB |
| NVIDIA Driver | 1.1 GB | exe file: 400 MB |
| NVIDIA® CUDA | 5.8 GB | exe file: 2.7 GB |
| NVIDIA® cuDNN | 1000 MB | zip file: 480 MB |
| NVIDIA® TensorRT™ | 1.25 GB | exe file: 650 MB |
| Intel® OpenVINO™ | 1 GB | exe file: 200 MB |
| Intel® Media SDK | 132 MB | exe file: 70 MB |
| Pylon | 840 MB | exe file: 415 MB |
| Hikrobot MVS | 368 MB | exe file:141 MB |
| FLIR Spinnaker SDK | 1.9 GB | exe file: 530 MB |
| ADLINK EVA SDK | 1.65 MB | zip file: 660 KB |
| GStreamer | 700 MB | zip file: 165 MB |
¶ 2 Uninstall Previous Software
If the system has a previous version of the software installed, it must first be uninstalled before the new version can be installed. The following content is for reference only (except for the software developed by ADLINK). Actual uninstall procedures vary depending on the vendor software.
¶ 2.1 Uninstall via Software Installer Program
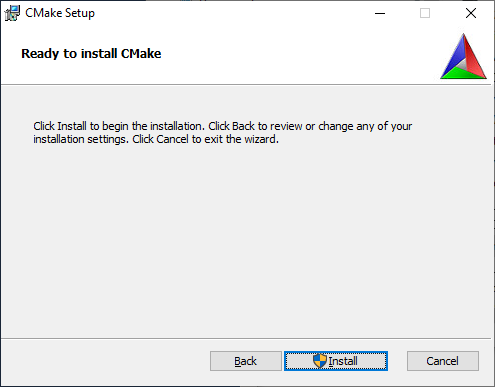
Run the program’s installer and follow the screen prompts to uninstall the software. The following table lists the software installers with an uninstall feature, and a sample of the uninstall window.
| Software | Uninstall Window |
|---|---|
| CMake | 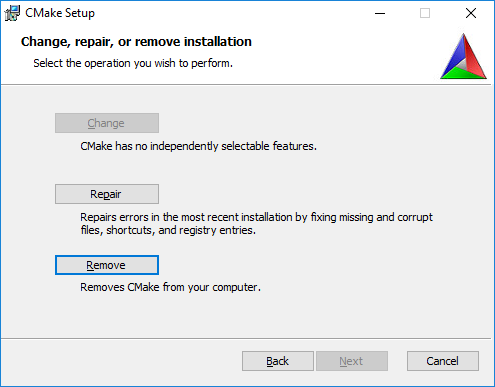 |
| Python |  |
| Intel® OpenVINO™ |  |
| Intel® Media SDK | 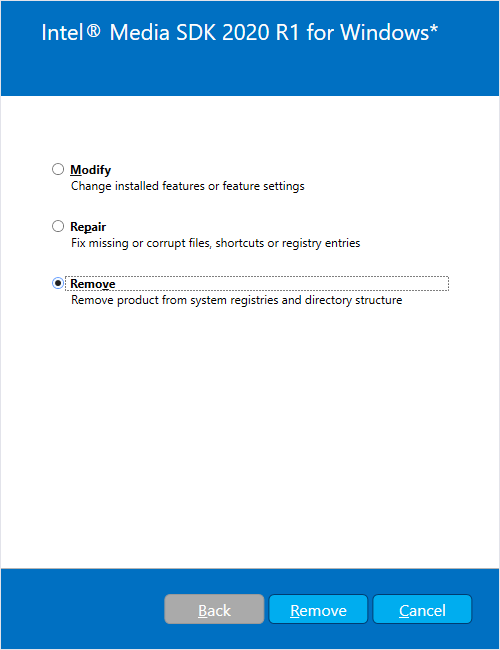 |
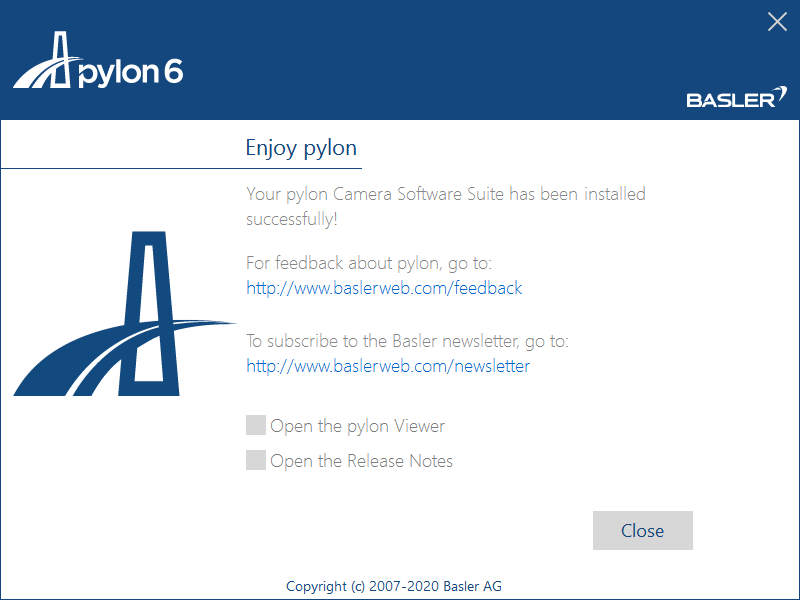
| pylon | 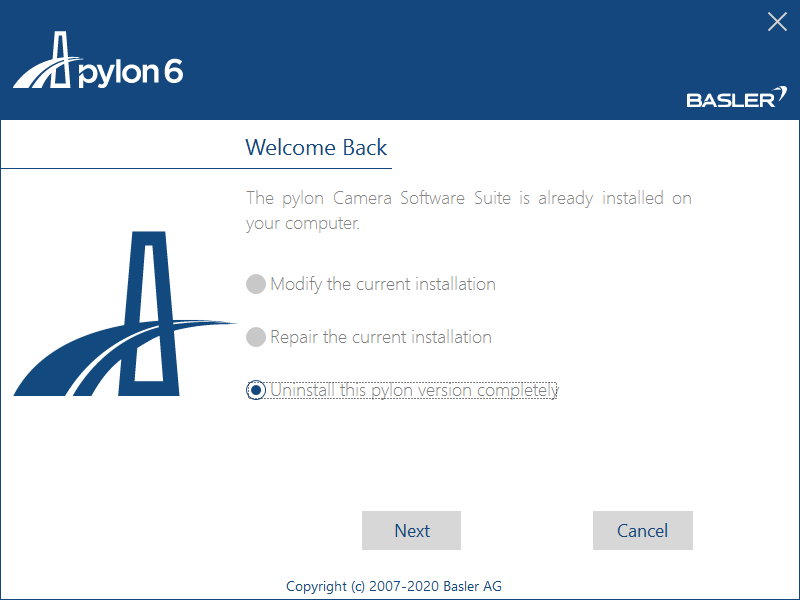 |
| Hikrobot MVS | 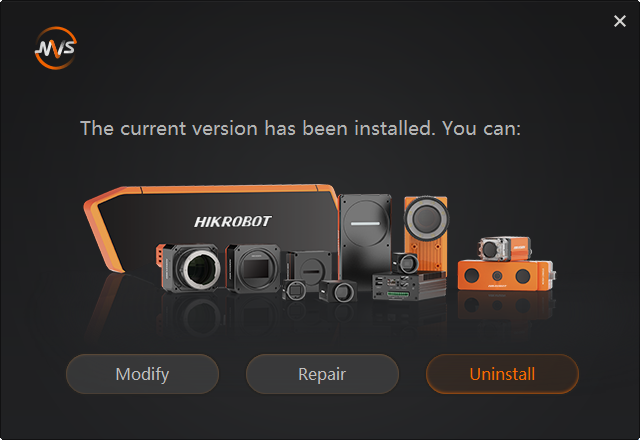 |
| FLIR Spinnaker SDK | 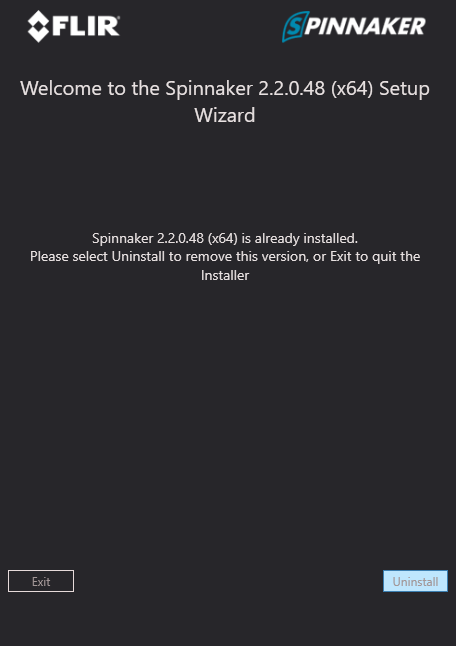 |
| EVA SDK | 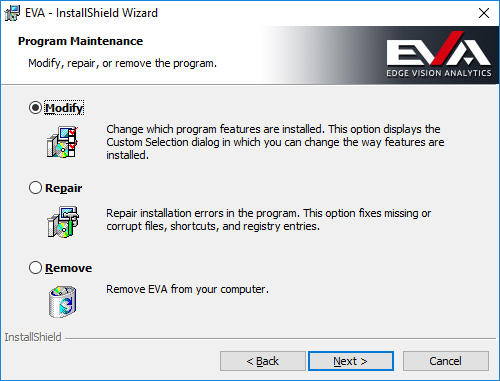 |
¶ 2.2 Uninstall via Programs and Features
- Press <Windows> + <Q> and type Control Panel, and then click Control Panel. Click Uninstall a program to open Programs and Features.
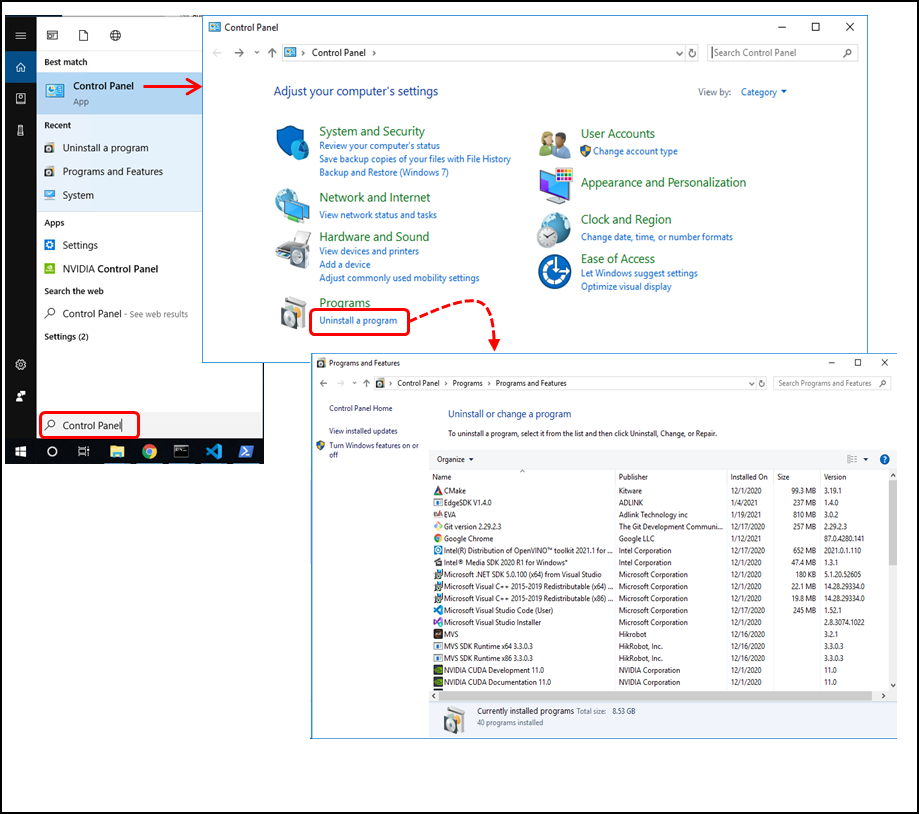
- Double-click the program to be uninstalled. Click Yes to begin uninstalling the program.
The following table lists the software that can be uninstalled through Windows Programs and Features.
| Software | Software as Listed in Programs and Features |
|---|---|
| Python | Python *** |
| CMake | CMake |
| NVIDIA Driver | NVIDIA Graphic Driver *** |
| NVIDIA® CUDA | NVIDIA CUDA *** |
| Intel® OpenVINO™ | Intel® Distribution of OpenVINO™ toolkit *** for Windows |
| Intel® Media SDK | Intel® Media SDK *** for Windows |
| Pylon | pylon *** Camera Software Suite |
| Hikrobot MVS | MVS |
| FLIR Spinnaker SDK | Spinnaker SDK |
| ADLINK EVA SDK | EVA |
| GStreamer | EVA |
Note: *** refers to the software version or other information listed in Programs and Features.
¶ 2.3 Manually Remove Files
Some software does not support being completely uninstalled with an uninstaller. These must be uninstalled manually be deleting the files from the system.
| Software | Files to Delete |
|---|---|
| NVIDIA® cuDNN |
After uninstalling NVIDIA® CUDA, remove the following files:
|
| NVIDIA® TensorRT™ | Delete all NTensorRT folders and files from the location they were placed in during installation. |
¶ 2.4 Remove Environment Settings
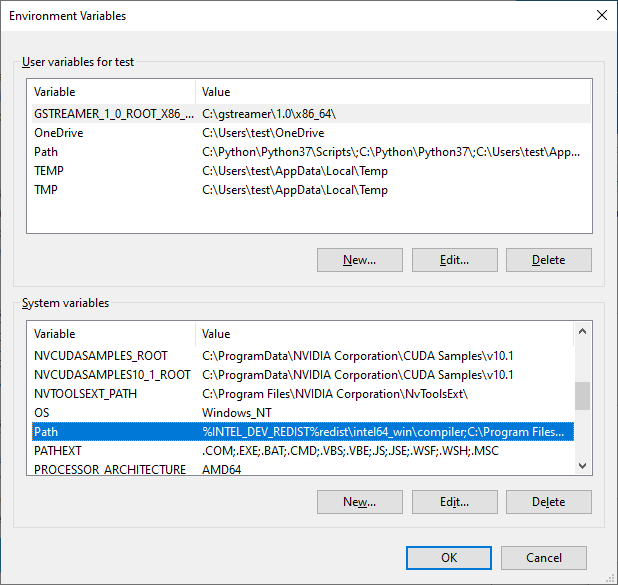
When installing NVIDIA TensorRT, the binary and library are added to the environment PATH. When uninstalling TensorRT, the environment PATH must be deleted manually.
Please use the following steps to delete TensorRT’s path setting.
- In the Windows Search box, type edit the system environment variables and press <Enter>. .
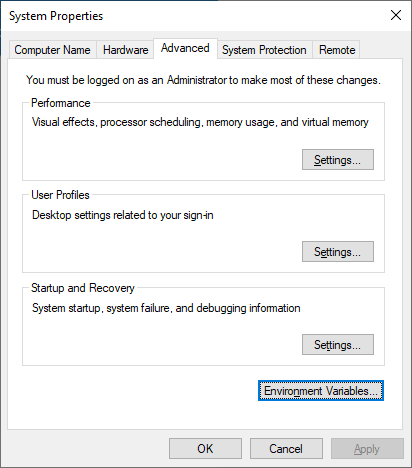
- Click Environment Variables
- Under System variables, click Path and then Edit.

- Select TensorRT’s bin and lib path and click Delete.
¶ 3 Installing Required Dependencies
This chapter describes how to install the following software:
- Microsoft Visual C++ Redistributable for Visual Studio 2015-2019
- Python 3.7 64-bit
- Microsoft Build Tools for Visual Studio 2019/2017
- CMake 3.14 or higher 64-bit
If the system already has Python and CMake installed, make sure they are the correct version.
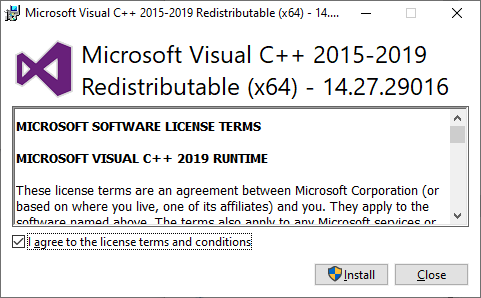
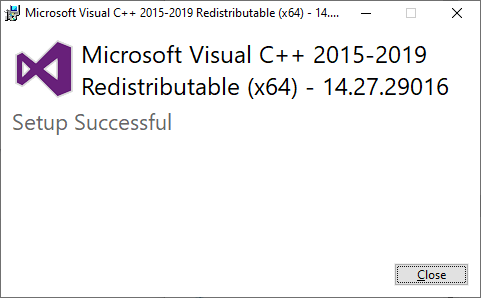
¶ 3.1 Installing Microsoft Visual C++ Redistributable for Visual Studio
Download the install file for Microsoft Visual C++ Redistributable for Visual Studio 2015, 2017 and 2019 x64 from https://support.microsoft.com/en-us/help/2977003/the-latest-supported-visual-c-downloads.
After downloading, run the installer to install the software.
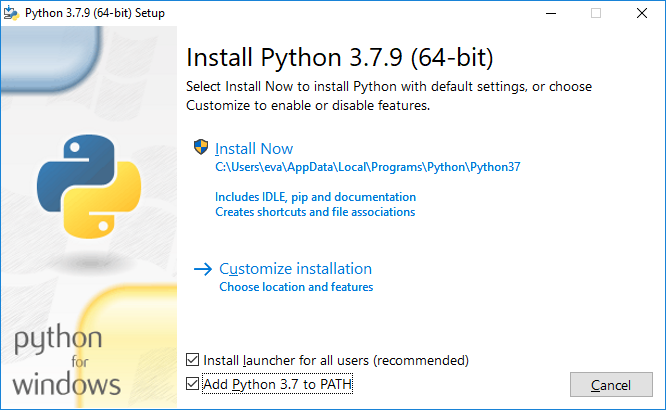
¶ 3.2 Installing Python
Download the Python 3.7 64-bit for Windows from https://www.python.org/downloads/windows/. As of Januanry 22, 2021, the latest Python 3.7 release version is 3.7.9.
Uninstall all previous versions of Python from the system. For more details, refer to Uninstall Previous Software.
After downloading, run the installer, select Add Python 3.7 to PATH to add the application to the environment PATH, and then click Install Now.
The default path is C:\Users\<USER_ID>\AppData\Local\Programs\Python\Python37
Click Disable path length limit to allow the Python default path.

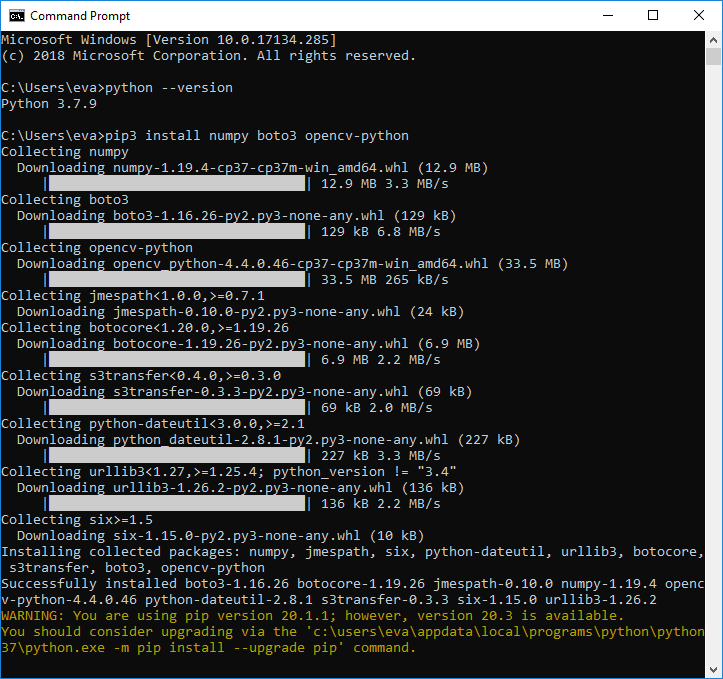
After installation, open a command prompt and entert the following command to verify the environment PATH.
| > python --version |

If the terminal cannot find the python command, the system might not be able to find the program. For the instructions to add Python to the system environment variables, see Set Windows Environment Variables.

Run the following command to install additional required packages.
| > pip3 install numpy boto3 opencv-python |
¶ 3.3 Installing Microsoft Build Tools for Visual Studio
Open a web browser and navigate to https://visualstudio.microsoft.com/downloads/, click Tools for Visual Studio 2019, and click Download next to Build Tools for Visual Studio 2019.

After downloading, run the installer, and choose C++ build tools and Universal Windows Platform build tools for installation.
To use Visual Studio 2017, select MSVC v141- VS 2017 C++ x64/x86 build tools in the C++ build tools.


¶ 3.4 Installing CMake
Download CMake 3.14 or higher (64-bit) for Windows from https://cmake.org/download/.
Uninstall all previous versions of CMake from the system. For more details, refer to Uninstall Previous Software.
After downloading, run the installer to install the software.
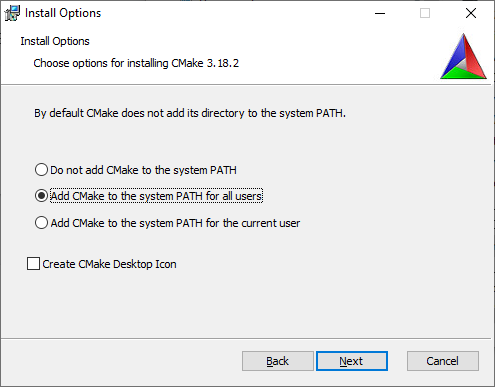
Note: Choose Add CMake to the system PATH for all users.

After installing, open a command prompt and enter the following command to verify the environment PATH.
| > cmake |
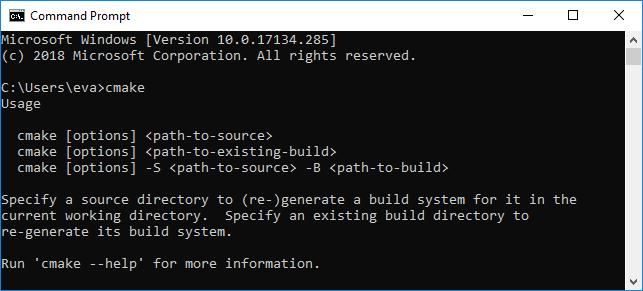
If the terminal cannot find the cmake command, the system might not be able to find the program. For the instructions to add CMake to the system environment variables, see Set Windows Environment Variables.

¶ 3.5 Set Windows Environment Variables
This section describes how to manually set the Windows environment.
Use the following steps to update the Windows PATH if an execute command returns an error message stating that an application cannot be found.
- In the Windows Search box, type edit the system environment variables and press <Enter>.

- Click Environment Variables.
- Under System variables, click Path and then Edit.
- Click New and enter the program binary directory or click Browse and choose the directory.
For example,- The CMake default path is C:\Program Files\CMake\bin.
- The Python default path is C:\Users\<USER_ID>\AppData\Local\Programs\Python\Python37.
- The Python script tool (such as pip3) default path is C:\Users\<USER_ID>\AppData\Local\Programs\Python\Python37\Script.
- The Pylon runtime library default path is C:\Program Files\Basler\pylon 6\Runtime\x64.
- Click OK repeatedly to close each window.
¶ 4 Installation Process for NVIDIA Solution (Optional)
If you are not using an NVIDIA inference solution, this chapter can be skipped.
¶ 4.1 Uninstall Previous Version
Uninstall all previous versions of CUDA Toolkit from the system and remove cuDNN and/or TensorRT files. For more details, refer to Uninstall Previous Software.
¶ 4.2 Installing NVIDIA Driver
According the NVIDIA product type, download the corresponding driver installer from the NVDIA Driver download website https://www.nvidia.com/download/index.aspx?lang=en-us.
For example, for NVIDIA Quadro P2000, the search items are as follows,

After searching for the appropriate product, follow the step on the website to download the driver.
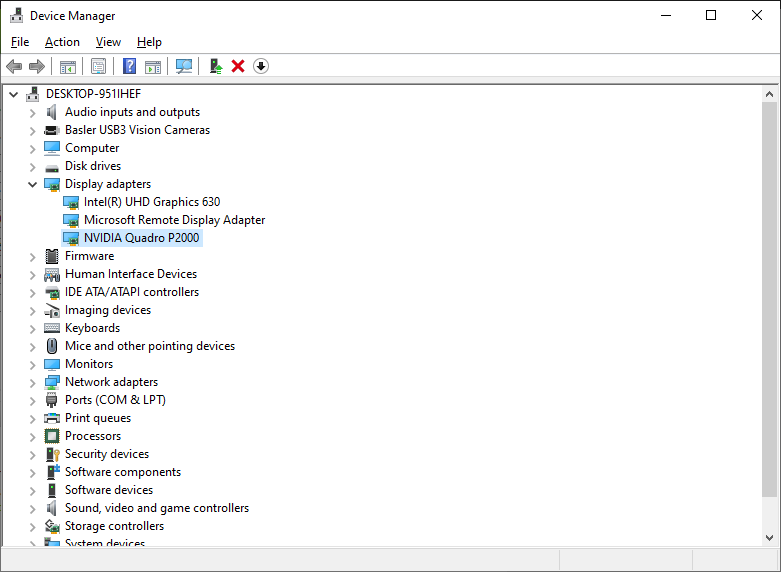
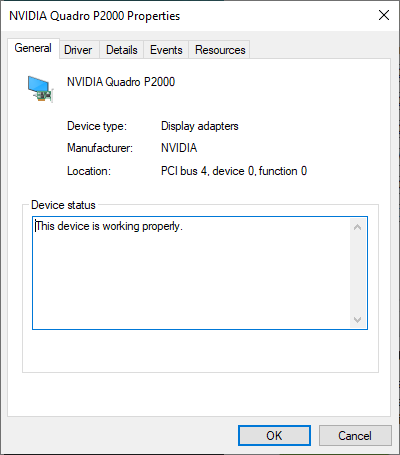
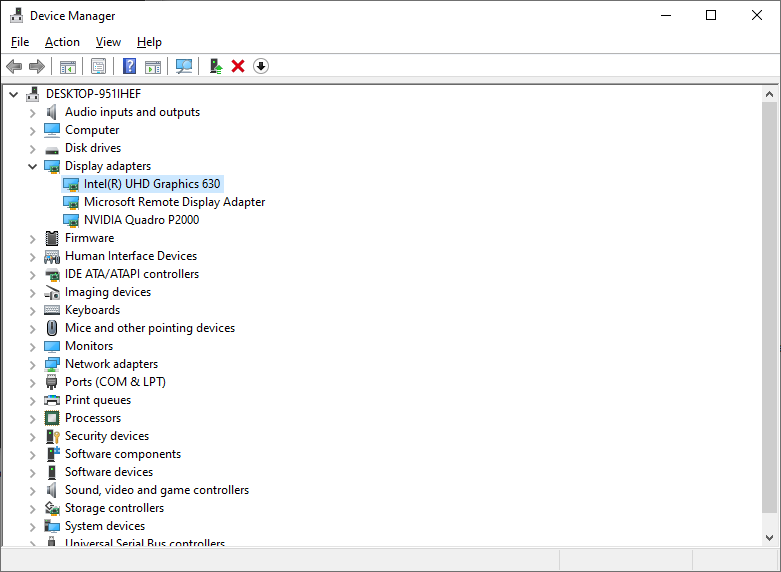
After downloading, run the drvier installer and follow the screen prompts to install the driver. It is recommended to reboot after installation to ensure the normal operation of the driver. After rebooting, open Device Manager, click Display adapters, and check that the NVIDIA device is working properly.
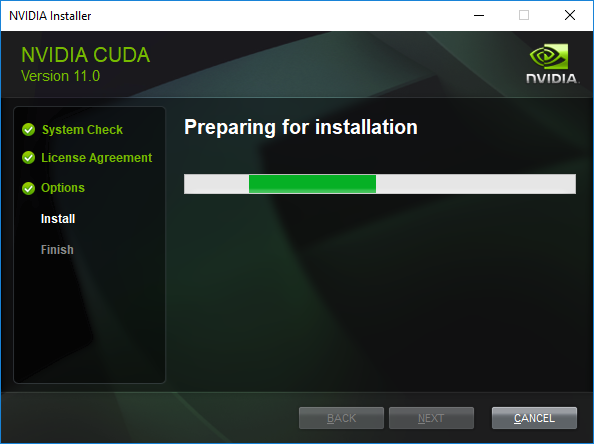
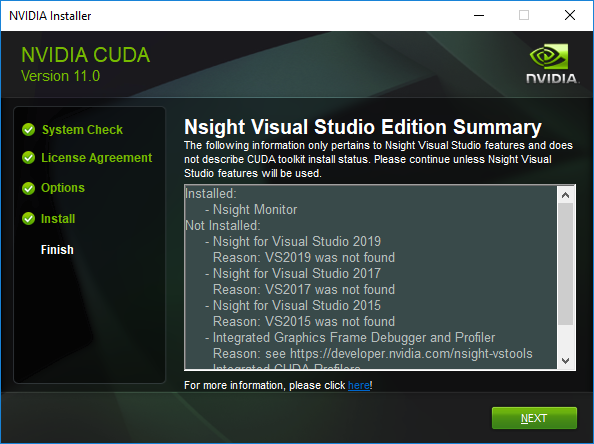
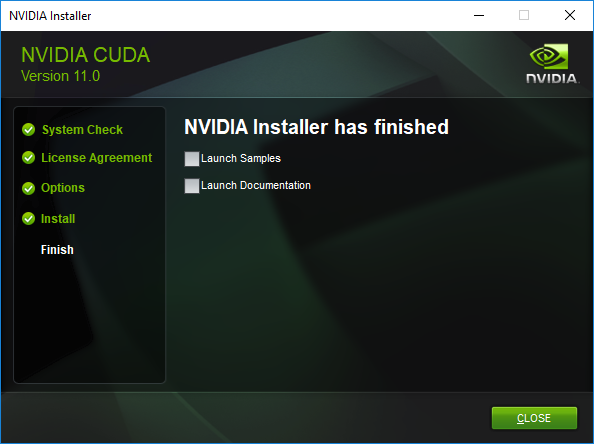
¶ 4.3 Installing CUDA Toolkit
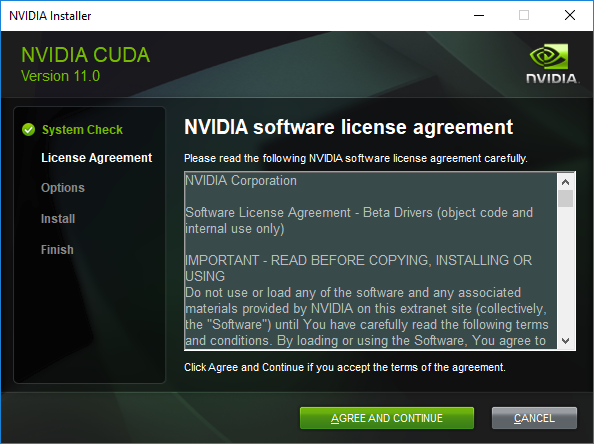
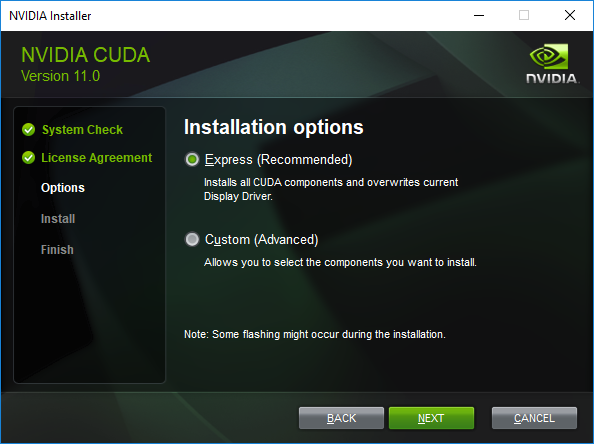
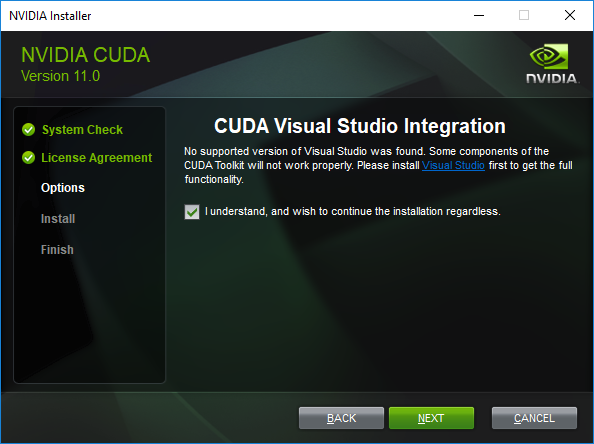
Download the NVIDIA® CUDA toolkit 11.0 from https://developer.nvidia.com/cuda-11.0-download-archive?target_os=Windows&target_arch=x86_64&target_version=10&target_type=exelocal.
After downloading, run the installer and follow the screen prompts to install the software.
¶ 4.4 Installing cuDNN
Download cuDNN v8.0.5 from https://developer.nvidia.com/compute/machine-learning/cudnn/secure/8.0.5/11.0_20201106/cudnn-11.0-windows-x64-v8.0.5.39.zip.
Log in or join the NVIDIA Developer Program as a member.
After downloading, unzip the cuDNN package and copy the following files into the following CUDA Toolkit folders:
- Copy cuda\bin\*.dll to C:\Program Files\NVIDIA GPU Computing Toolkit\CUDA\v11.0\bin
- Copy cuda\include\*.h to C:\Program Files\NVIDIA GPU Computing Toolkit\CUDA\v11.0\include
- Copy cuda\lib\x64\*.lib to C:\Program Files\NVIDIA GPU Computing Toolkit\CUDA\v11.0\lib\x64
Refer to the NVIDA cuDNN documentation for more information: https://docs.nvidia.com/deeplearning/cudnn/install-guide/index.html#install-windows.
¶ 4.5 Installing TensorRT
Download and install TensorRT 7.1.3 for Windows from https://developer.nvidia.com/compute/machine-learning/tensorrt/secure/7.1/zips/TensorRT-7.1.3.4.Windows10.x86_64.cuda-11.0.cudnn8.0.zip.
Log in or join the NVIDIA Developer Program as a member.
After downloading, unzip and copy the TensorRT-7.1.3.4 folder to C:\Program Files\NVIDIA GPU Computing Toolkit.

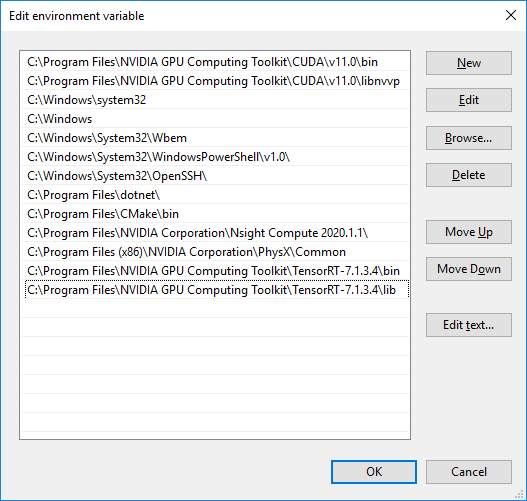
Add the following variables to the PATH environment variable.
- C:\Program Files\NVIDIA GPU Computing Toolkit\TensorRT-7.1.3.4\lib
- C:\Program Files\NVIDIA GPU Computing Toolkit\TensorRT-7.1.3.4\bin
For the instructions to add the system environment, refer to Set Windows Environment Variables.
¶ 4.6 Installing ONNX Runtime
After installing the CUDA Toolkit, run the following commands to install the ONNX Runtime packages.
| > pip3 install pillow > pip3 install onnxruntime-gpu==1.8.0 |
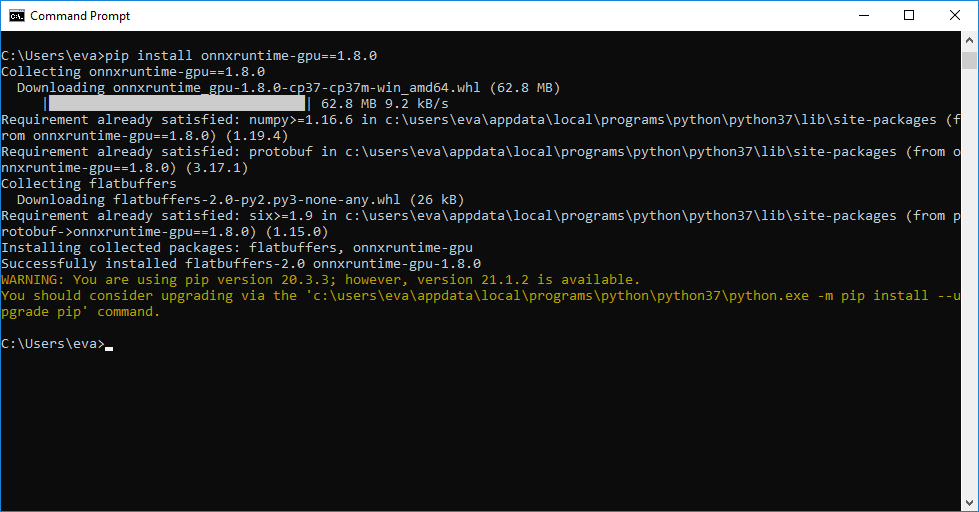
Refer to https://www.onnxruntime.ai/
¶ 5 Installation Process for Intel Solution (Optional)
If you are not using the Intel® Distribution of OpenVINO™ toolkit, this chapter can be skipped.
¶ 5.1 Uninstall Previous Version
Uninstall all previous versions of OpenVINO and/or Media SDK from the system. For more details, refer to Uninstall Previous Software.
¶ 5.2 Installing the OpenVINO Toolkit
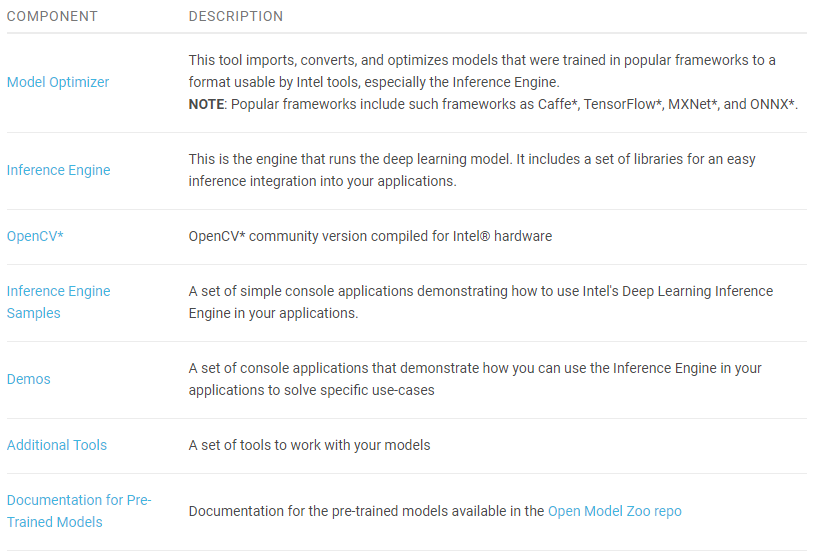
The Intel® Distribution of OpenVINO™ toolkit quickly deploys applications and solutions that emulate human vision. Based on Convolutional Neural Networks (CNN), the toolkit extends computer vision (CV) workloads across Intel® hardware, maximizing performance. The Intel® Distribution of OpenVINO™ toolkit includes the Intel® Deep Learning Deployment Toolkit (Intel® DLDT).
The Intel® Distribution of OpenVINO™ toolkit for Windows 10:
- Enables CNN-based deep learning inference on the edge
- Supports heterogeneous execution across Intel® CPU, Intel® Integrated Graphics, Intel® Movidius™ Neural Compute Stick, Intel® Neural Compute Stick 2, and Intel® Vision Accelerator Design with Intel® Movidius™ VPUs
- Speeds time-to-market via an easy-to-use library of computer vision functions and pre-optimized kernels
- Includes optimized calls for computer vision standards including OpenCV* and OpenCL™
Included with the installation and installed by default:
For more details, refer to https://docs.openvinotoolkit.org/2021.1/openvino_docs_install_guides_installing_openvino_windows.html.
¶ 5.2.1 System Requirements
The following software must be installed on the system:
- Microsoft Build Tool for Visual Studio with C++ 2019,2017 or 2015
- CMake 64-bit
- Python 64-bit
See Installing Required Dependencies for more information.
¶ 5.2.2 Install the Intel® Distribution of OpenVINO™ Toolkit Core Components
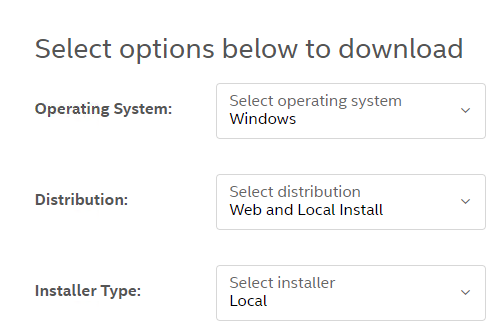
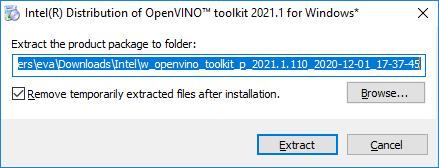
Download the Intel® Distribution of OpenVINO™ toolkit package file from https://software.intel.com/content/www/us/en/develop/tools/openvino-toolkit/choose-download/windows.html.
Select the options below to download.
- Operating System: Windows
- Distribution: Web and Local Install
- Installer Type: Local
Click Register & Download, choose Windows and complete the registration form.
On the Intel® Distribution of OpenVINO™ toolkit for Windows website, choose version 2021 1 and click Full Package.
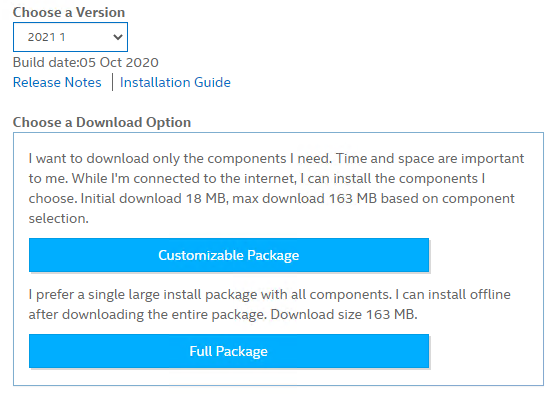
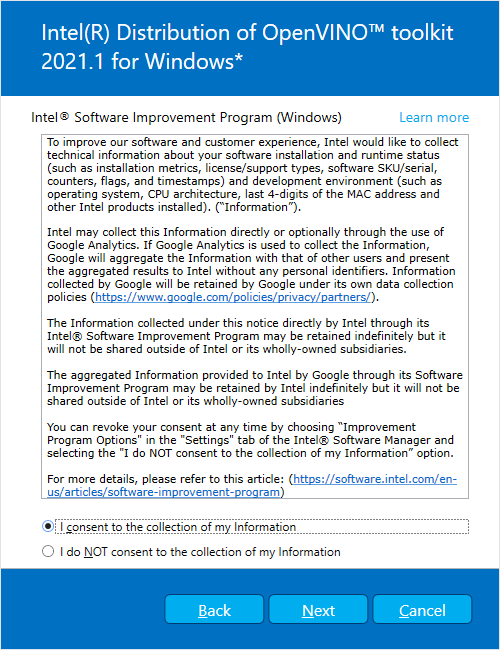
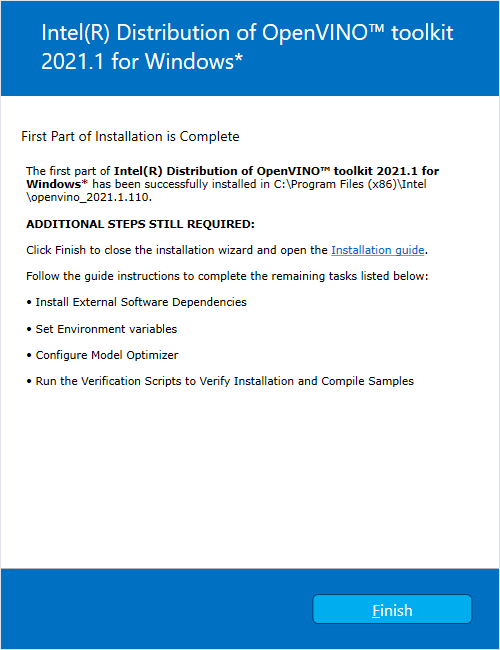
After downloading, run the installer. Follow the screen prompts to complete the installation.

¶ 5.2.3 Set the Environment Variables
Before compiling and running OpenVINO applications, the environment variables must be updated.
Open a command prompt and run the setupvars.bat file to temporarily set the environment variables.
| > cd “C:\Program Files (x86)\Intel\openvino_2021\bin\” > setupvars.bat |
Notes:
- OpenVINO toolkit environment variables are removed when the command prompt window is closed.
- If the Intel® Distribution of OpenVINO™ was not installed to the default install directory, replace C:\Program Files (x86)\Intel with the directory where it is installed.
¶ 5.2.4 Optional Steps for Intel® Processor Graphics (GPU)
The steps in this section are required only if you want to use processor graphics (GPU) on your system.
If your applications offload computation to Intel® Integrated Graphics, the Intel Graphics Driver for Windows version must be 15.65 or higher. To see if you have this driver installed:
- Type device manager in your Windows Search box. The Device Manager opens.
- Click the drop-down arrow to view the display adapters. See the installed adapter.
- Right-click the adapter name and select Properties.
- Click the driver tab to see the Driver Version. Make sure the version number is 15.65 or higher.
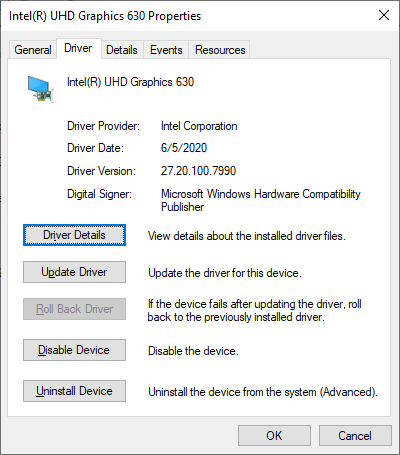
- If your device driver version is lower than 15.65, download and install a higher version from https://downloadcenter.intel.com/product/80939/Graphics-Drivers.
¶ 5.3 Installing the Intel Media SDK for Gstreamer (Optional)
To use MSDK encoder and decoder GStreamer plugins in GStreamer, the required software must be installed in the following order:
- Intel® OpenVINO Toolkit (see Installing the OpenVINO Toolkit)
- Intel® Media SDK (this section )
- GStreamer (see Installing GStreamer on Windows)
- MSDK GStreamer plugin (see Install Third-party Plugins)
This section describes how to install the Intel® Media SDK.
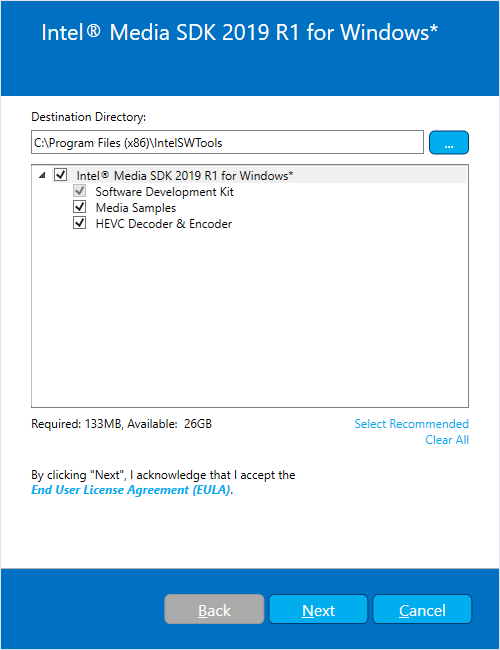
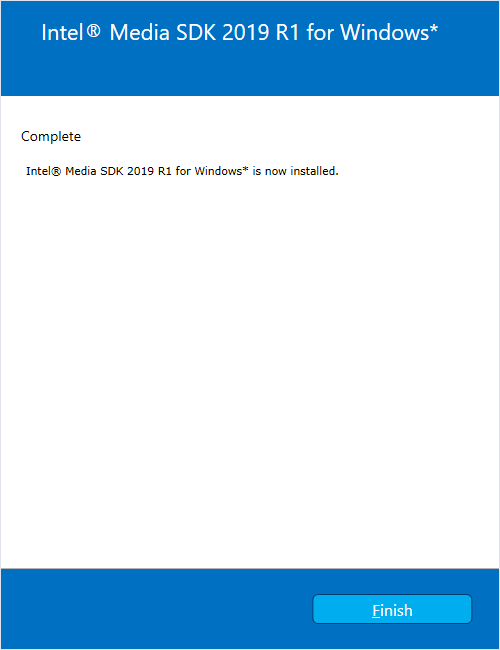
- Download the Intel® Media SDK for Windows from https://software.intel.com/content/www/us/en/develop/tools/media-sdk/choose-download/client.html.
- Click Register & Download and complete the registration form.
- On the Intel® Media SDK for Windows website, choose version 2020 R1 and click MediaSDK2019RD.exe.
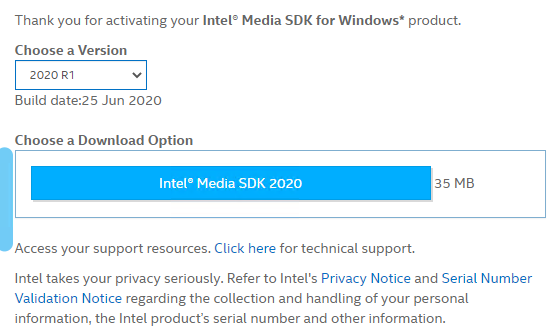
- After downloading, run the installer. Follow the screen prompts to complete the installation.
¶ 6 Installing Pylon Software (Optional)
If you are not using a Basler camera, this chapter can be skipped.
¶ 6.1 Uninstall Previous Versions
Uninstall all previous versions of pylon or items where the publisher is Basler from the system. For more details, refer to Uninstall Previous Software.
¶ 6.2 Install pylon Software
If Basler cameras are used for the system, pylon software must be installed.
Download the pylon camera software from the Basler website at: https://www.baslerweb.com/en/sales-support/downloads/software-downloads/.
The recommended software versions are:
- Software Category: pylon Software
- Version: 6.1.1
- Operating System: Windows 64-bit
Alternately, use the link: https://www.baslerweb.com/en/sales-support/downloads/software-downloads/#type=pylonsoftware;language=all;version=6.1.1;os=windows64bit
Choose Camera Software Suite Windows.
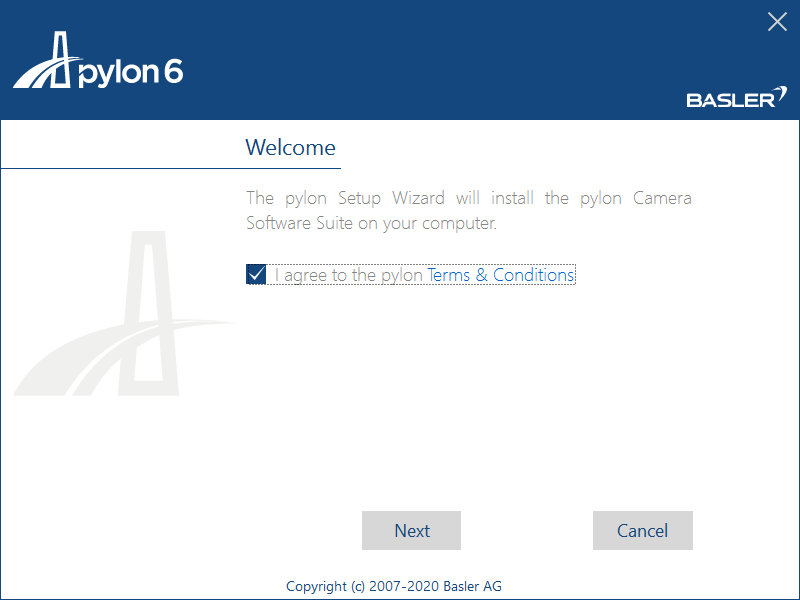
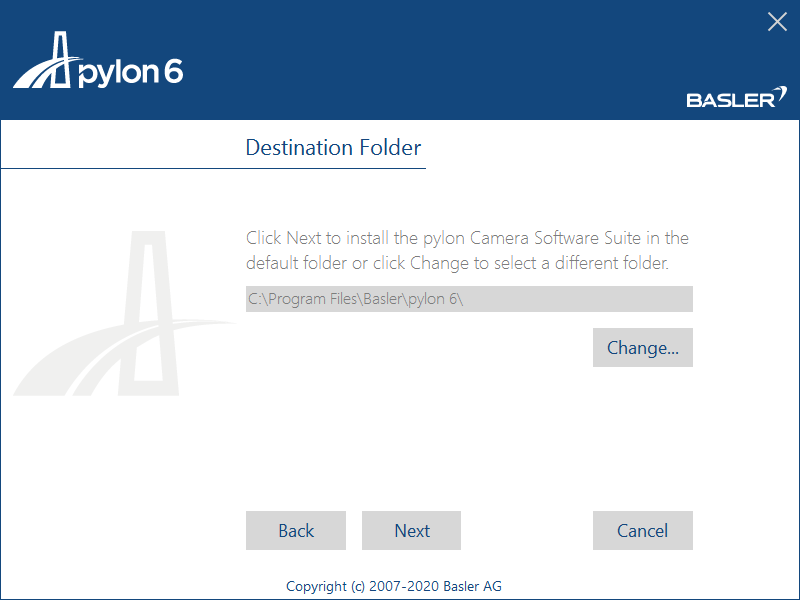
After downloading, run the camera software suite installer.
Follow the screen prompts to install the software.
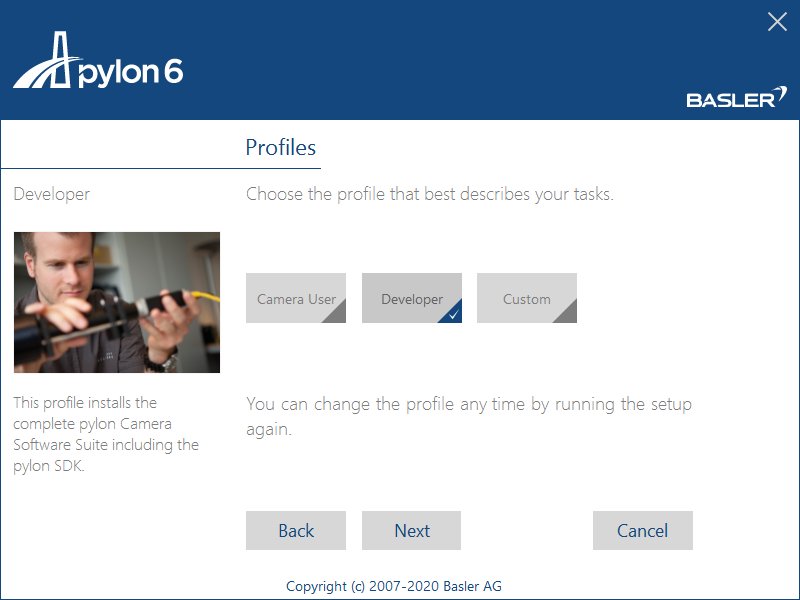
On the Profiles page, choose Developer.
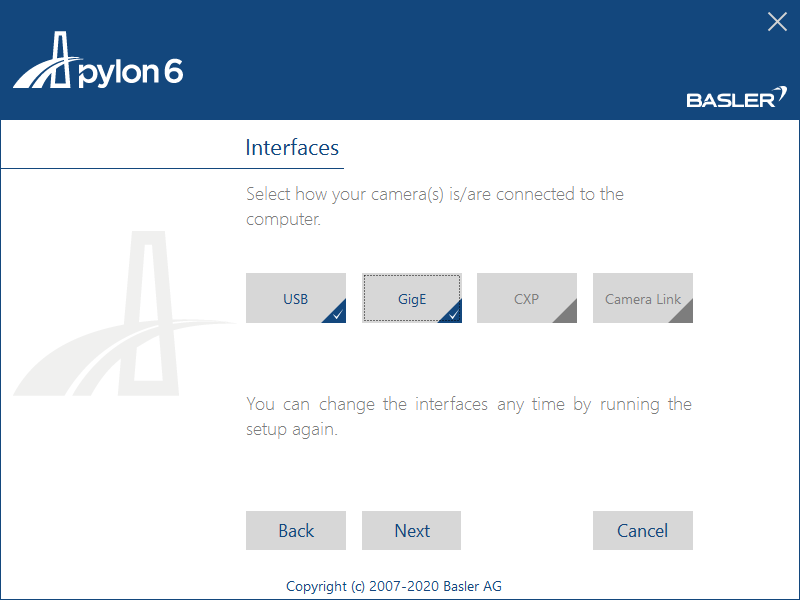
On the Interfaces page, select the interfaces to which the camera(s) is/are connected.

Verify the Basler's USB3/GigE Vision cameras with pylon:
- After installing pylon, run the pylon Viewer tool to test the camera.
- Refer to the following Basler document on using the pylonviewer: https://docs.baslerweb.com/overview-of-the-pylon-viewer.html
¶ 7 Installing Hikrobot Software (Optional)
If you are not using a Hikrobot camera, this chapter can be skipped.
¶ 7.1 Uninstall Previous Versions
Uninstall all previous versions of MVS from the system. For more details, refer to Uninstall Previous Software.
¶ 7.2 Install Hikrobot MVS Software
If Hikrobot Cameras are used, the Hikrobot MVS Software must be installed.
Download the Hikrobot installer from the website at: https://en.hikrobotics.com/machinevision/service/download?module=0
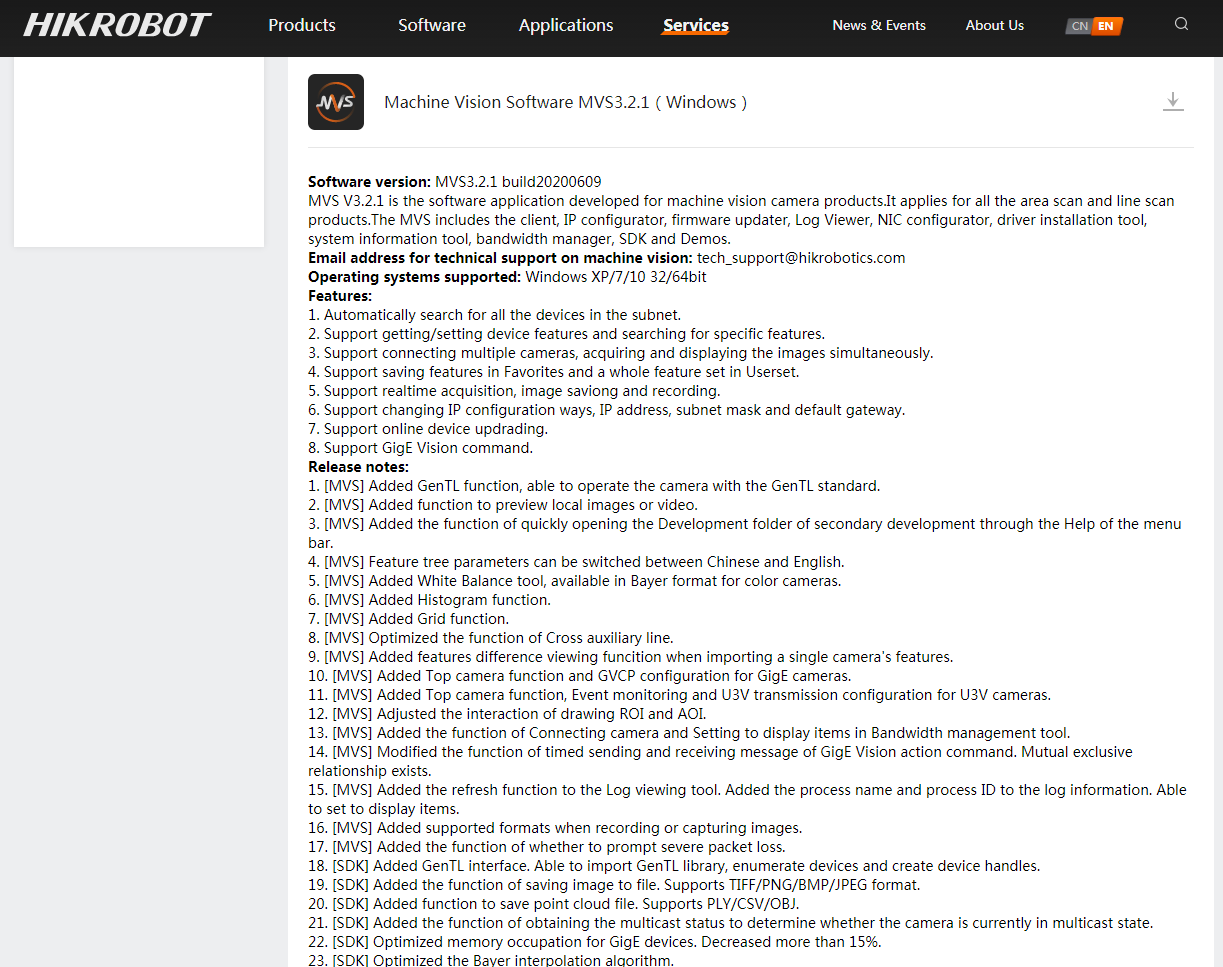
The recommended software versions are:
- Version: Machine Vision Software MVS3.2.1 (Windows)
- Operating System: Windows 64-bit
Launch the downloaded installer.
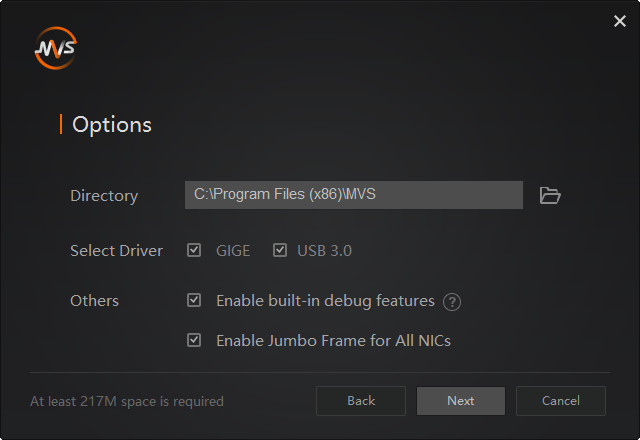
The recommended options are:
- Select Driver: GIGE and USB 3.0
- Others: Enable built-in debug features and Enable Jumbo Frame for All NICs
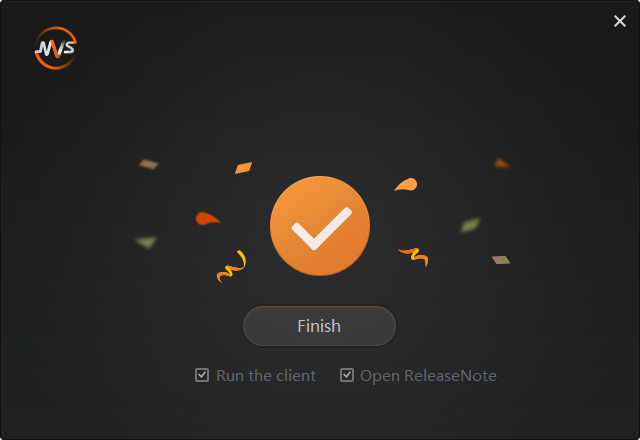
Verify the Hikrobot's USB3/GigE Vision cameras with MVS.
- After installing MVS, run the MVS tool to test the camera.
- The file should be located at C:\Program Files\MVS\Applications\Win64\MVS.exe"
- Refer to the MVS document at C:\Program Files\MVS\Applications\Win64\doc
¶ 8 Installing FLIR Software (Optional)
If you are not using a FLIR camera, this chapter can be skipped.
¶ 8.1 Uninstall Previous Versions
Uninstall all previous versions of Spinnaker SDK from the system. For more details, refer to Uninstall Previous Software.
¶ 8.2 Install FLIR Spinnaker Software
If FLIR cameras are used, the FLIR Spinnaker Software Suite for Windows must be installed.
Download FLIR Spinnaker installer from https://www.flir.asia/products/spinnaker-sdk/
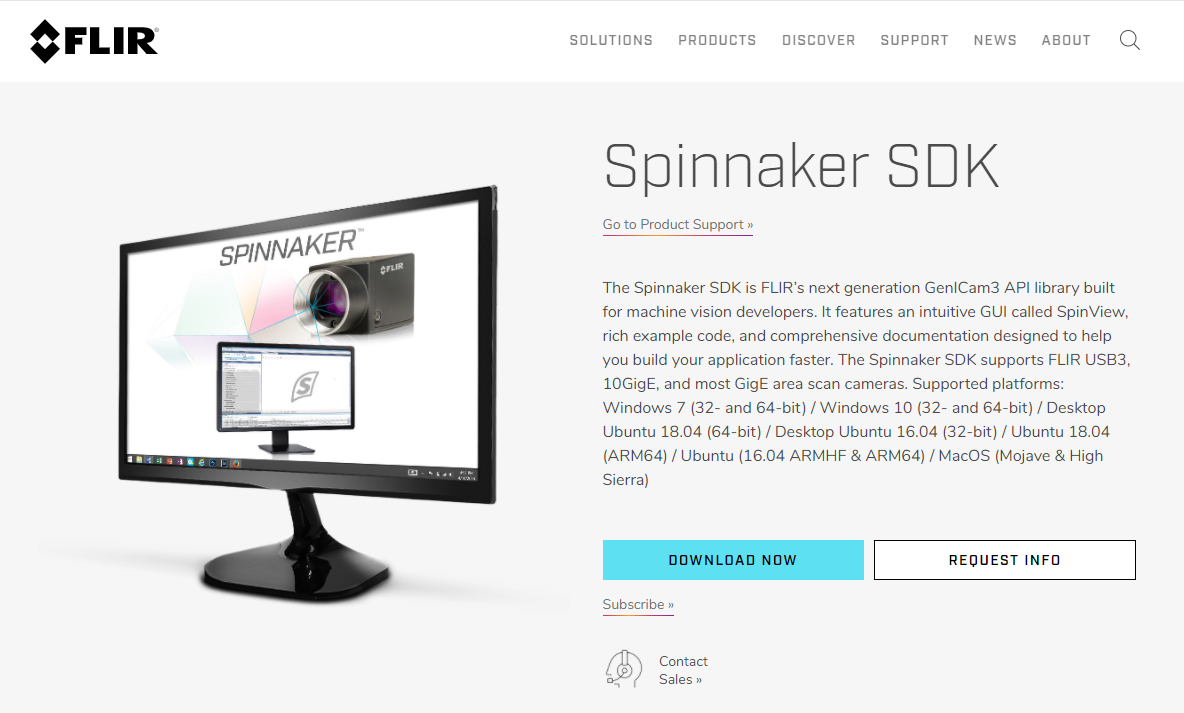
The recommended software versions are:
- Version: SpinnakerSDK_FULL_2.2.0.48_x64 (Windows)
- Operating System: Windows 64 bit
The path is FLIR Support / Spinnaker / archive / 2.2.0.48

Launch the download installer. In the Profiles page, choose Application Development.

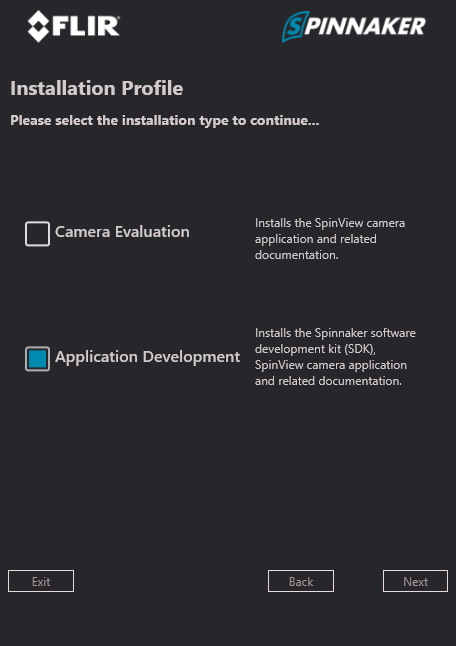
Select all camera drivers and Visual Studio versions. These include the runtime library based on the Visual Studio code.

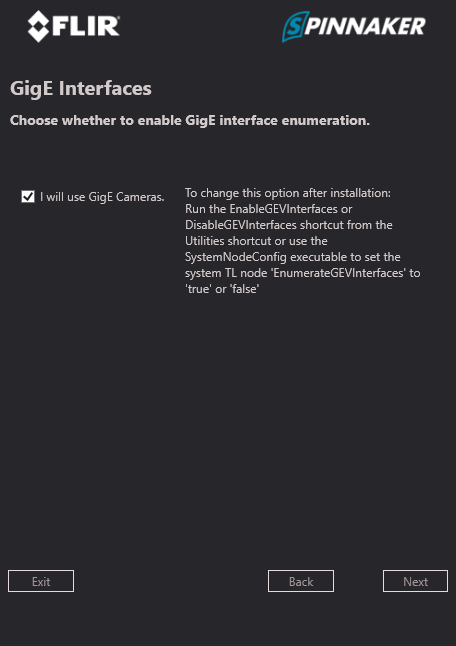
Enable the GigE Cameras.
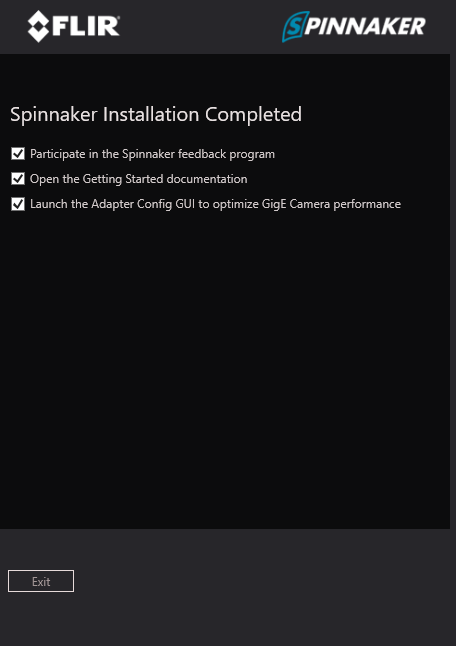
Verify the FLIRs USB3/GigE Vision cameras with SpinView:
- After installing Spinnaker, run the SpinView tool to test the camera.
- The file should be located at “C:\Program Files\FLIR Systems\Spinnaker\bin64\vs2015\ SpinView_WPF.exe”.
¶ 9 Installing GStreamer and ADLINK EVA SDK on Windows
¶ 9.1 Uninstall Previous Version
Uninstall all previous versions of EVA from the system. For more details, refer to Uninstall Previous Software.
If gstreamer has been installed, use the following commands to remove msdk, nvdec and nvenc.
- remove msdk plugin
| > cd C:\ADLINK\gstreamer > del lib\gstreamer-1.0\gstmsdk* |
- remove nvdec and nvenc plugins
| > cd C:\ADLINK\gstreamer > del lib\gstreamer-1.0\gstnv* |
¶ 9.2 Install GStreamer and EVA SDK
Download the EVA install package and copy it to the Windows 64-bit system. Follow the installation screen prompts.
The installer includes GStreamer and the ADLINK EVA SDK files. After installation, the GStreamer files will be located at C:\ADLINK\gstreamer and the EVA SDK will be located at C:\ADLINK\eva.

The ADLINK EVA SDK must use a python plugin and third-party plugins for GStreamer. ADLINK has created a GStreamer installer to simplify the installation process. If there is any problem with the plugin provided by GStreamer, ask for help from the plugins’ developers. ADLINK cannot guarantee the performance and stability of any third-party plugins.
Note: Due to the limitation of the mason build tool, the ADLINK EVA SDK currently only supports drive C:\ as the installation and build location.
¶ 9.3 Install Third-party Plugins (Optional)
The ADLINK GStreamer installer provides third-party plugins including msdk, nvdec and nvenc.
The msdk plugin provides the GStreamer H.264 and HEVC format encoder and decoder elements using the Intel Media SDK. The nvdec and nvenc plugins provide the GStreamer H.264 and HEVC elements using NVIDIA Codec SDK and NVIDIA CUDA. The source code for these plugins is in the GStreamer Bad Plug-ins package and must be built by users as NVIDIA and Intel do not provide binary files. However, ADLINK has configured these plugins in advance.
Follow the steps below to install the plugins.
- Install required dependencies.
- msdk plugin: refer to Installation Process for Intel Solution to install OpenVINO and Media SDK.
- nvdec and nvenc plugin: refer to Installation Process for NVIDIA Solution to install NVIDIA Driver and CUDA toolkit
- Copy the required binary to C:\ADLINK\gstreamer\lib\gstreamer-1.0
- for the msdk plugin: gstmsdk.dll and gstmsdk.lib
> cd C:\ADLINK\gstreamer
> xcopy third-party\gstmsdk* lib\gstreamer-1.0 /y
- for the nvdec and nvenc plugins: gstnvdec.dll and gstnvdec.lib; gstnvenc.dll and gstnvenc.lib
> cd C:\ADLINK\gstreamer
> xcopy third-party\gstnv* lib\gstreamer-1.0 /y
- for the msdk plugin: gstmsdk.dll and gstmsdk.lib
Note: When using other third-party plugins, copy the plugin binary (*.lib and *.dll) to C:\ADLINK\gstreamer\lib\gstreamer-1.0 and the libraries that the plugin needs (If any) to C:\ADLINK\gstreamer\bin.
¶ 9.4 Set Environment Variables
Open a command prompt and run setupvars.bat to temporarily set the environment variables.
| > C:\ADLINK\gstreamer\setupvars.bat > C:\ADLINK\eva\scripts\setup_eva_envs.bat |
Check the GStreamer Installation.
| > gst-launch-1.0 videotestsrc ! videoconvert ! autovideosink |
After executing the command, a window with an animated video pattern should display on-screen.
Use <CTRL> + <C> in the terminal to stop the program.
If the third-party plugins are installed, use the following commands to check them.
- Check msdk
| > gst-inspect-1.0 msdk |
- Check nvdec and nvenc
| > gst-inspect-1.0 nvdec > gst-inspect-1.0 nvenc |
Note: The environment variables are removed when closing the command prompt or terminal.
Safety Instructions
Read and follow all instructions marked on the product and in the documentation before you operate your system. Retain all safety and operating instructions for future use.
- Please read these safety instructions carefully.
- Please keep this User‘s Manual for later reference.
- Read the specifications section of this manual for detailed information on the operating environment of this equipment.
- When installing/mounting or uninstalling/removing equipment, turn off the power and unplug any power cords/cables.
- To avoid electrical shock and/or damage to equipment:
- Keep equipment away from water or liquid sources.
- Keep equipment away from high heat or high humidity.
- Keep equipment properly ventilated (do not block or cover ventilation openings).
- Make sure to use recommended voltage and power source settings.
- Always install and operate equipment near an easily accessible electrical socket-outlet.
- Secure the power cord (do not place any object on/over the power cord).
- Only install/attach and operate equipment on stable surfaces and/or recommended mountings.
- If the equipment will not be used for long periods of time, turn off and unplug the equipment from its power source.
- Never attempt to fix the equipment. Equipment should only be serviced by qualified personnel.
Getting Service
Ask an Expert: http://askanexpert.adlinktech.com
ADLINK Technology, Inc.
Address:9F, No.166 Jian Yi Road, Zhonghe District
New Taipei City 235, Taiwan
Tel: +886-2-8226-5877
Fax: +886-2-8226-5717
Email: service@adlinktech.com
Ampro ADLINK Technology, Inc.
Address:5215 Hellyer Avenue, #110, San Jose, CA 95138, USA
Tel: +1-408-360-0200
Toll Free:+1-800-966-5200 (USA only)
Fax: +1-408-360-0222
Email: info@adlinktech.com
ADLINK Technology (China) Co., Ltd.
Address:300 Fang Chun Rd., Zhangjiang Hi-Tech Park, Pudong New Area
Shanghai, 201203 China
Tel: +86-21-5132-8988
Fax: +86-21-5132-3588
Email: market@adlinktech.com
ADLINK Technology GmbH
Address:Hans-Thoma-Straße 11
D-68163 Mannheim, Germany
Tel: +49-621-43214-0
Fax: +49-621 43214-30
Email: germany@adlinktech.com
Please visit the Contact page at www.adlinktech.com for information on how to contact the ADLINK regional office nearest you.