¶ What can you learn from this sample code?
Through this sample code, you can learn:
- The points that both sample codes, "Generate a basic pipeline" and "Generate a basic pipeline in opencv", want you to learn.
- Feed the image data to the element appsrc directly.
- Get the image data from the element appsink directly.
¶ Essential knowledge
- Two sample codes: "Generate a basic pipeline" and "Generate a basic pipeline in opencv"
- Knowledge of two gstreamer elements: appsrc and appsink in advance.
- Basic Python programming, thread, queuing and callback.
¶ About this sample code
This sample code first create three command pipelines in an application:
➤ First pipeline created in thread:
appsrc ! clockoverlay ! videoconvert ! appsink
➤ Second pipeline for capturing from webcam through OpenCV VideoCapture:
for windows:
ksvideosrc ! videoscale ! video/x-raw, width=1024, height=768 ! videoconvert ! appsink
for linux:
v4l2src ! videoscale ! video/x-raw, width=1024, height=768 ! videoconvert ! appsink
➤ last pipeline for writing to another pipeline through OpenCV VideoWriter:
for windows:
appsrc ! videoconvert ! video/x-raw, format=BGR, width=640, height=480, framerate=30/1 ! videoconvert ! d3dvideosink sync=false
for linux:
appsrc ! videoconvert ! video/x-raw, format=BGR, width=640, height=480, framerate=30/1 ! videoconvert ! ximagesink sync=false
VideoCapture read frame then push to buffer, grabVec. The appsrc will notice callback function, need_data, to feed image data and then continuesly processing downstream in the pipeline, here clockoverlay, and end with appsink. The element appsink will ask the callback function, new_sample, to retrieve the final image data then push to the buffer, pipeLineOutputVec. Each processed image will save next to the sample code file in the same folder.
¶ Description
OpenCV provides a convenient way for developers wanting to utilize their own API, algorithm, or unique processing. Based on the sample in "Generate a basic pipeline in opencv", another pipeline in the thread can be created to request user padding frame data to overlay clock information on the top-left of the frame via the GStreamer clockoverlay element.
The establish_thread_pipeline function builds the pipeline:
appsrc ! clockoverlay ! videoconvert ! appsink
shown in the code fragment below:
def establish_thread_pipeline():
    print('Start establish pipeline in thread.')
    # GStreamer init and declare the pipeline
    Gst.init(sys.argv)
    pipeline = Gst.Pipeline().new("example-pipeline")

    # Start to declare the elements
    ## element: appsrc
    src = Gst.ElementFactory.make("appsrc", "src")
    caps = Gst.caps_from_string("video/x-raw,format=BGR,width=640,height=480,framerate=30/1")
    src.set_property('caps', caps)
    src.set_property('blocksize', 640*480*3)
    src.connect('need-data', need_data)
    src.connect('enough-data', enough_data)
    ## element: clockoverlay
    clockoverlay = Gst.ElementFactory.make("clockoverlay", "clockoverlay")
    ## element: videoconvert
    videoconvert = Gst.ElementFactory.make("videoconvert", "videoconvert")
    ## element: appsink
    sink = Gst.ElementFactory.make("appsink", "sink")
    sink.set_property('emit-signals', True)
    sink.connect('new-sample', new_sample, None)
    ### elements
    pipeline_elements = [src, clockoverlay, videoconvert, sink]

    establish_pipeline(pipeline, pipeline_elements)

    bus = pipeline.get_bus()

    # allow bus to emit messages to main thread
    bus.add_signal_watch()

    # Start pipeline
    pipeline.set_state(Gst.State.PLAYING)

    loop = GLib.MainLoop()

    bus.connect("message", on_message, loop)

    try:
        print("Start to run the pipeline in thread.\n")
        loop.run()
    except Exception:
        traceback.print_exc()
        loop.quit()

    # Stop Pipeline
    pipeline.set_state(Gst.State.NULL)
    del pipeline
    print('pipeline stopped.\n')
Refer to the GStreamer tutorials for more information on how to build the pipeline or our sample "Generate a basic pipeline". Here the appsrc and appsink signal properties connect through the GObject API in:
caps = Gst.caps_from_string("video/x-raw,format=BGR,width=640,height=480,framerate=30/1")
src.set_property('caps', caps)
src.set_property('blocksize', 640*480*3)
src.connect('need-data', need_data)
src.connect('enough-data', enough_data)
# ... code omitted
sink.set_property('emit-signals', True)
sink.connect('new-sample', new_sample, None)
First set the appsrc' property "caps", "blocksize" to the image format we are going to push. Then connects the need_data and enough_data callback function to need-data and enough-data to wait for the appsrc notification to feed the data and then push it to appsrc or end the data. Below simplified the need_data and enough_data:
def need_data(src, length) -> Gst.FlowReturn:
    # wait for image data vector, grabVec, is not full
    while True:
        time.sleep(0.001)
        if grabVec.qsize() > 0:
            break

    global num_frames
    if grabVec.qsize() > 0:
        # get image data from vector
        buf = Gst.Buffer.new_allocate(None, length, None)
        buf.fill(0, grabVec.get().tostring())

        # set buffer timestamp
        buf.duration = 1/ 30 * Gst.SECOND
        buf.pts = buf.dts = int(num_frames * buf.duration)
        buf.offset = num_frames * buf.duration
        num_frames += 1

        # push buffer to sppsrc
        retval = src.emit('push-buffer', buf)
        if retval != Gst.FlowReturn.OK:
            print("retval = ", retval)

        time.sleep(0.01)


def enough_data(src, size, length) -> Gst.FlowReturn:
    return Gst.FlowReturn.OK
Once the function is called back, the data for appsrc's buffer can be padded and then the signal called to push the data to appsrc. Similarly, set the appsink' property "emit-signals" to ejection mode. Then connects the new_sample callback function to wait for the notification to access the output frame data sample. Below simplified the new_sample:
def new_sample(sink, data) -> Gst.FlowReturn:
    sample = sink.emit('pull-sample')
    arr = extract_data(sample)
    pipeLineOutputVec.put(arr.copy())
    time.sleep(0.01)
    return Gst.FlowReturn.OK
As long as appsink indicates the sample is ready and accessible, the data can be gotten from appsink's buffer and push to pipeLineOutputVec. In the capture while loop, there will check this pipeLineOutputVec exists data or not:
# Save image data queued in pipeLineOutputVec from the pipeline created in thread
        if pipeLineOutputVec.qsize() > 0:
            cv2.imwrite("a.bmp", pipeLineOutputVec.get())
If exists image data, then save to a.bmp next to this sample code.
Relative to "Generate a basic pipeline in opencv", this sample is provided for those who required leverage to GStreamer's elements, like clock overlay, to process the frame data and then return to the application. Both "Generate a basic pipeline in opencv" and this sample have introduced effective ways to integrate custom applications with GStreamer. For more information on the usage of appsrc and appsink, refer to the GStreamer tutorials.
¶ Run this sample code
Go to the folder of the python code and run in terminal or cmd:
$ python3 get-stream-data-from-pipeline.py
and you will see the display windows and one saved file:
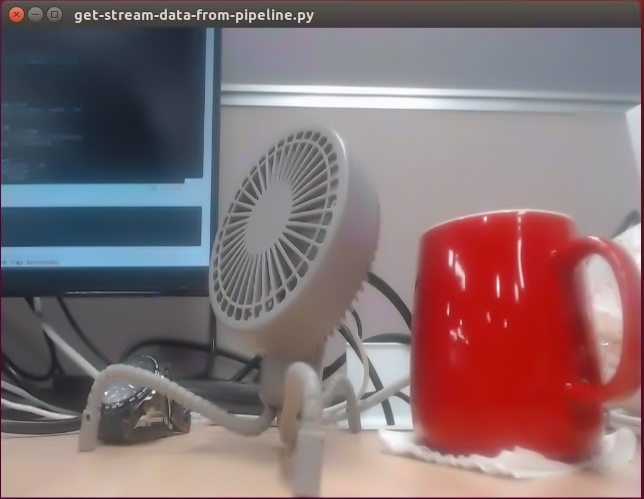
- Display the retrieved frame from command pipeline after doing resize in aplication:
- Saved file next to the binary:

See the saved file exists the time overlayed on the frame comes from the pipeline element, clockoverlay, created and running in thread.